This is an awesome pizza dough that gives you a very rustic style pizza! Just had to share!
A kitchen aid style stand mixer is required, unless you're comfortable working with high hydration doughs and hand mixing. People have assured me it's possible, but it's much easier with a mixer. You could also use a food processor to mix the dough, but the time will be much shorter. Probably less than a minute.
The resulting pizza is light, delicious, and full of huge holes in the crust. If you grow tomatoes and basil in your garden, this pizza is just the ticket.
Ingredients:
2 1/2 C. Bread Flour (All Purpose will also work in a pinch)
1 cup water
1 tsp yeast
1 tsp. salt
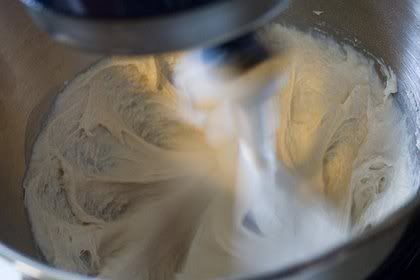
Mix the flour,yeast,salt & water in your stand mixer with the paddle on high speed, it won't look like it is doing anything for a while. Then after about 10 minutes or so it will start to come together
Initial mixing, notice the dough is sticking to the sides:
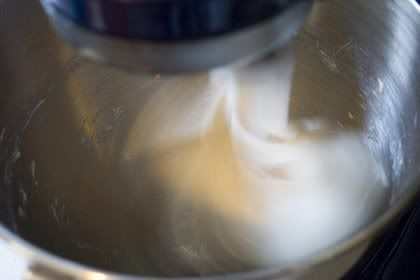
Dough is done as soon as it stop sticking to the sides and is just coming off the bottom. It has the consistency of rubber but is very sticky:
Put the dough into a well oiled bowl and allow to proof (rise) until it triples. It MUST TRIPLE! I find the easiest and fastest way is to put the bowl into my electric oven with the light on. This step takes about 2hrs. for me. Be quick moving the dough from the mixer to the proofing container. You'll probobly still end up with a little dough stuck to your hands, because it's very wet.
Place your pizza stone into the oven and preheat to 500 degrees. If you don't have a baking stone, you can use a baking sheet placed upside down in the oven. Walmart has stones that are inexpensive, I've been using the same one from them for over five years now! Another good baking stone (and VERY cheap!) is to go to Home Depot and get an unglazed terracotta tile that is the size of your oven!
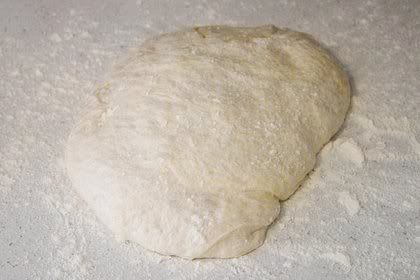
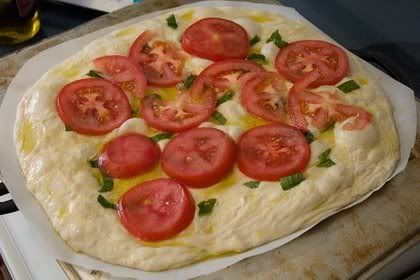
Now, on a heavily floured piece of parchment paper, pour out your dough into a nice blob. Parchment paper is silicone treated and won't melt or light on fire in your hot oven. It will make getting this thing in the oven much easier.
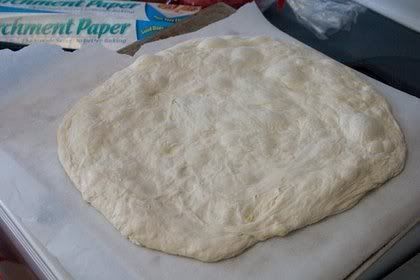
Now begin to shape your pizza! Shape it while on the parchment paper by using your fingers and "walking" them out from the center of the dough or you can grab it from underneath and stretch it. Since the dough is floured on the bottom, it won't stick too much. You don't want it paper thin, but fairly thin in the center.
Now it's time to top the pizza, I really just want some light olive oil, garlic powder, fresh tomatoes, basil and cheese. You can really do whatever you want from this point. One thing I've noticed with my oven though is that if I put the cheese on from the start, it'll burn and I'll have a raw pizza with burnt cheese. So I usually add cheese 2/3 of the way through baking.
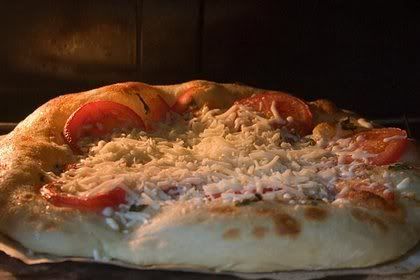
Once your oven has hit 500 degrees, slide your cheese-less pizza on to the pizza stone. After 5 minutes my pizza looked like this, nice oven spring! Once the crust has just started to brown (after about 8 minutes for me). I add the cheese.
Now I just let the cheese get to the point that I like and the crust to be nice and brown and I'm done. The all together baking time for this pie was 14 minutes.
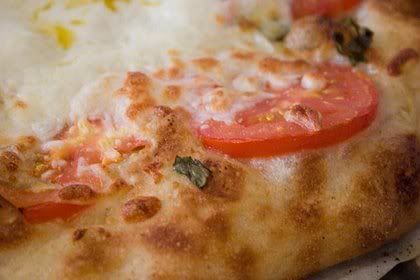
Once again, nice airy crust, not dense and sticky, but light and delightful.
Enjoy!